

Overview
Cloudonix is a cloud communications platform that enables Bananaflow voice agents to connect to SIP communications platform, either on-premise or in the cloud. In addition, Cloudonix exposes a full set of voice APIs, that provide a full suite of call-control capabilities and more.Prerequisites
Before setting up Cloudonix integration, you’ll need:- A Cloudonix account
- A Cloudonix domain UUID (or the domain name)
- A Cloudonix domain API Key (Bearer Token)
- A Cloudonix Voice Application on that domain (optional – leave the field blank in Bananaflow and we’ll auto-create one for you on save, with the application
urlpre-set) - A Cloudonix outbound voice trunk service provider connection
Configuration
Step 1: Get Cloudonix Credentials
- Log in to your Cloudonix Console
- Find your Domain ID (UUID or domain name) and Bearer Token (Domain API Key) on the dashboard
- (Optional) Navigate to your domain’s Applications and create (or open) the application you’ll use with Bananaflow, then copy its Application Name. Skip this if you want Bananaflow to auto-create the Voice Application for you on save.
Step 2: Configure in Bananaflow AI
- Navigate to /telephony-configurations and click Add configuration
- Select Cloudonix as your provider
-
Enter your credentials:
- Bearer Token
- Domain ID
- Application Name – optional. Leave blank and Bananaflow will auto-create a Voice Application on save (with the application
urland CXML runtime already configured) and store its name on this configuration.
- Click Save Configuration
-
Open the configuration you just created and add at least one phone number (with country code, in E.164 format –
+then country code then number, no spaces or dashes, e.g.+1234567890). The default caller ID is used for outbound calls.If Bananaflow auto-created the Voice Application for you, you still need to bind your DNIDs to that application in the Cloudonix cockpit (see Step 2 of Inbound Calling Setup). The auto-created application is namedbananaflow-<random>– its name is shown on the saved configuration.
Step 3: Test Your Configuration
- Create a test workflow
- Click “Call” to verify connection
- Check call logs for successful connection
Inbound Calling Setup
Cloudonix routes inbound calls per Voice Application – the webhook URL is set once on the application, and applies to every DNID bound to it. When you save an inbound workflow on a phone number, Bananaflow automatically pushes the webhook URL to your Voice Application’surl (provided the credentials are correct), so you don’t need to set the webhook by hand. If Bananaflow auto-created the application during configuration save, the url is already set and this push is a no-op – you only need to bind your DNIDs to the auto-created application.
Step 1: Set Up the Inbound Trunk
- Log in to your Cloudonix Console
-
Navigate to Trunks → Create Inbound Trunk and configure your inbound trunk with your voice service provider
Step 2: Create the Voice Application and Link DNIDs
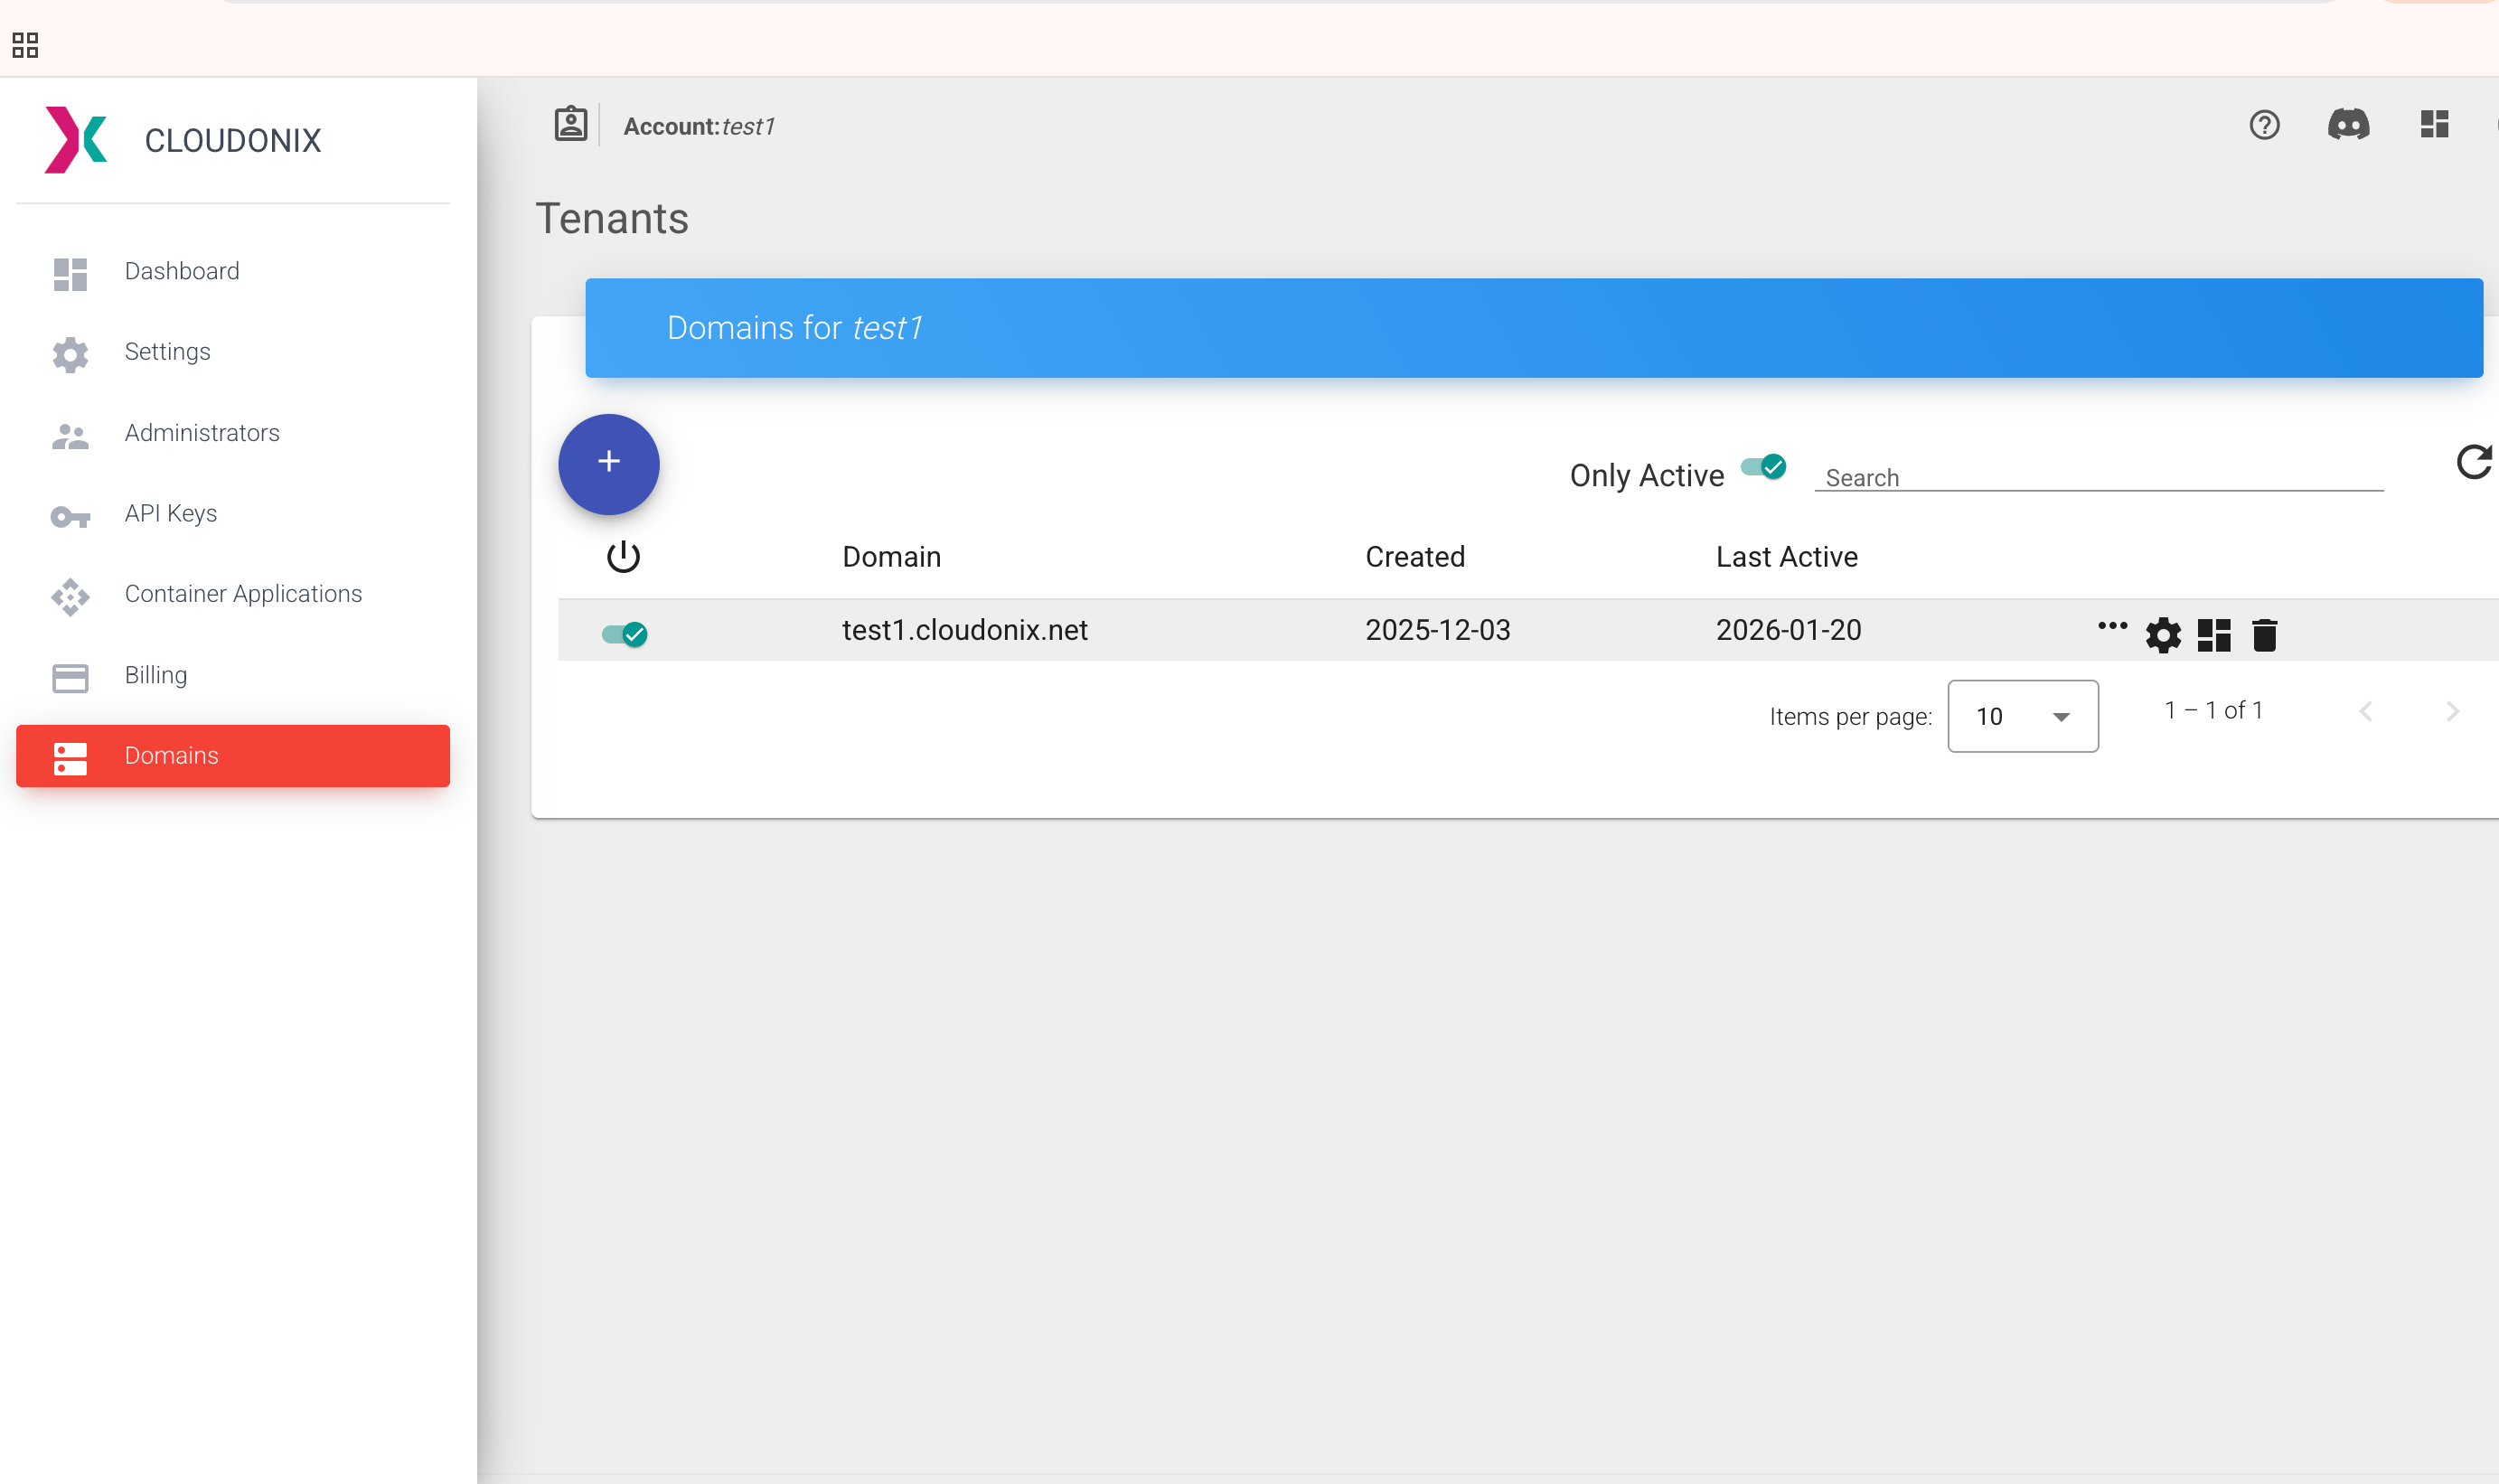
- In the Cloudonix cockpit, select your domain and navigate to Applications
-
Create a new application (or open the existing one whose name you configured in Bananaflow) with these settings:
- Application Resource Type:
Remote Application Resource - Application Runtime:
Cloudonix (CXML) - Application URL:
https://app.bananaflow.ai/api/v1/telephony/inbound/run - HTTP Method:
POST
- Application Resource Type:
- Under DNID Numbers, add each phone number (DNID) you want to route through this application
-
Save
The Application URL is what Bananaflow’s auto-push updates in Step 3 – you can leave it blank during creation and let the auto-push fill it in, or paste the URL above so the application is usable immediately. Either works.
Step 3: Assign an Inbound Workflow to the Phone Number in Bananaflow
- Go to /telephony-configurations and open your Cloudonix configuration
- In the Phone numbers section, edit the number that should receive inbound calls
- Set its Inbound workflow to the agent that should answer
- Save
Step 4: Verify the URL on the Voice Application
- Open your Cloudonix cockpit and navigate to your domain’s Applications
- Open the application whose name you configured in Bananaflow
-
Confirm:
- URL is set to:
https://app.bananaflow.ai/api/v1/telephony/inbound/run - Method is
POST
Bananaflow pushed this URL automatically when you saved the inbound workflow in Step 3. The same URL is shared across every DNID bound to that application – Bananaflow routes each inbound call to the right agent based on the called number’s inbound workflow assignment. If the field is empty, shows a different URL, or Bananaflow surfaced a sync warning on save, the auto-push failed – most often because the Bearer Token, Domain ID, or Application Name in Bananaflow is incorrect. Paste the URL into the field yourself, set the method toPOST, and save. - URL is set to:
Step 5: Verify Setup
- Confirm your inbound trunk is active and receiving calls
Test Inbound Calling
- Call your configured phone number from another phone
- Verify your Bananaflow AI voice agent answers and responds
- Check call logs in both Bananaflow AI dashboard and Cloudonix Console
- Confirm clear two-way audio communication
Troubleshooting
Invalid phone number error
Invalid phone number error
Ensure phone numbers include country code in E.164 format:
+1234567890Authentication failed
Authentication failed
- Verify Domain ID, Bearer Token, and Application Name are correct
- Check for extra spaces in credentials
- Ensure credentials haven’t been disabled or deleted in Cloudonix Console
No audio on calls
No audio on calls
- Ensure audio pipeline is configured correctly
Inbound calls not reaching voice agent
Inbound calls not reaching voice agent
- Verify the DNID is bound to the same Voice Application whose name you
configured in Bananaflow - Confirm the called number exists in your Bananaflow
telephony configuration and has an Inbound workflow assigned -
After assigning the inbound workflow, confirm Bananaflow successfully updated
the application’s
url(no warning shown on save) - Verify your inbound trunk is active and receiving calls
Voice agent doesn't respond to inbound calls
Voice agent doesn't respond to inbound calls
- Confirm the phone number has an Inbound workflow assigned in /telephony-configurations - Verify the Bearer Token in Bananaflow matches the one in your Cloudonix Console - Verify WebSocket connection establishes successfully - Review call logs for error messages
Best Practices
- Test your configuration with a single call before running campaigns
- Monitor Cloudonix Sessions for usage
- Use a dedicated Voice Application for Bananaflow so the shared
urldoesn’t conflict with other systems